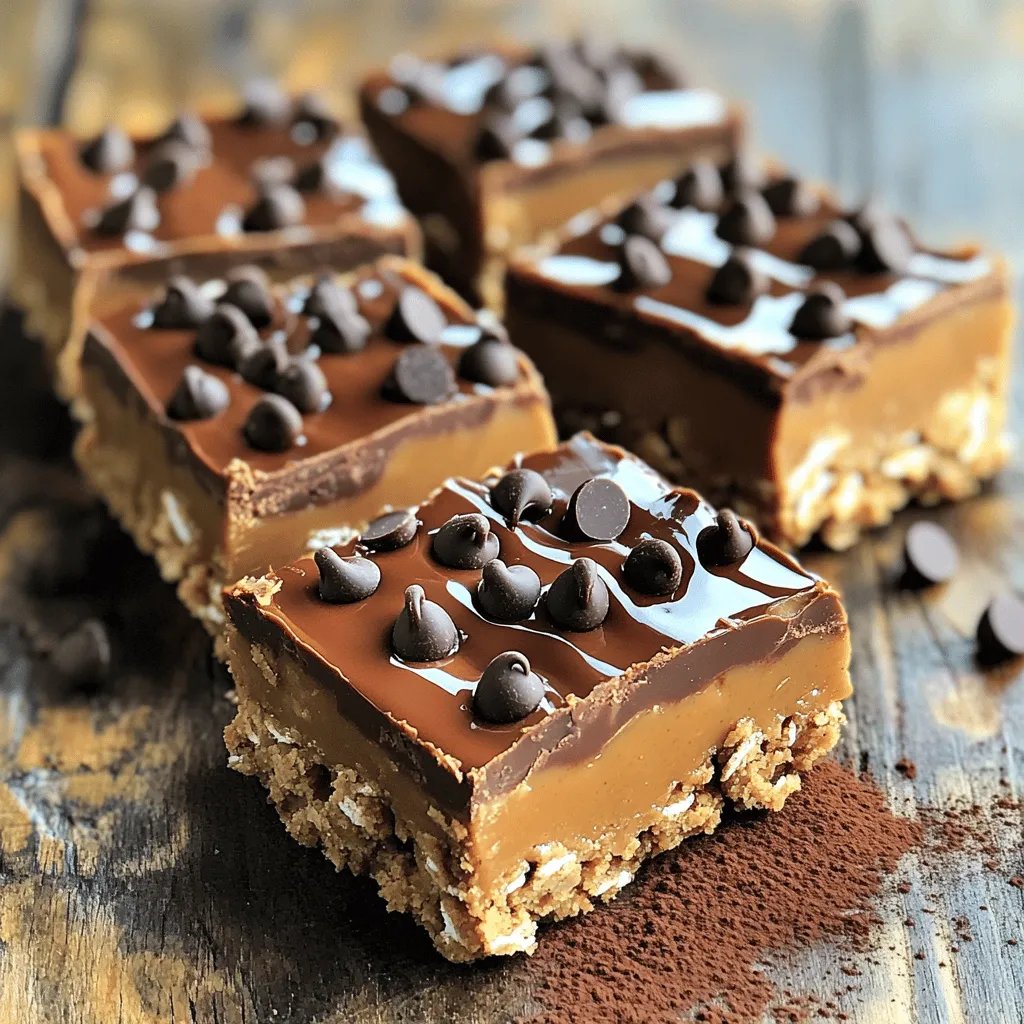
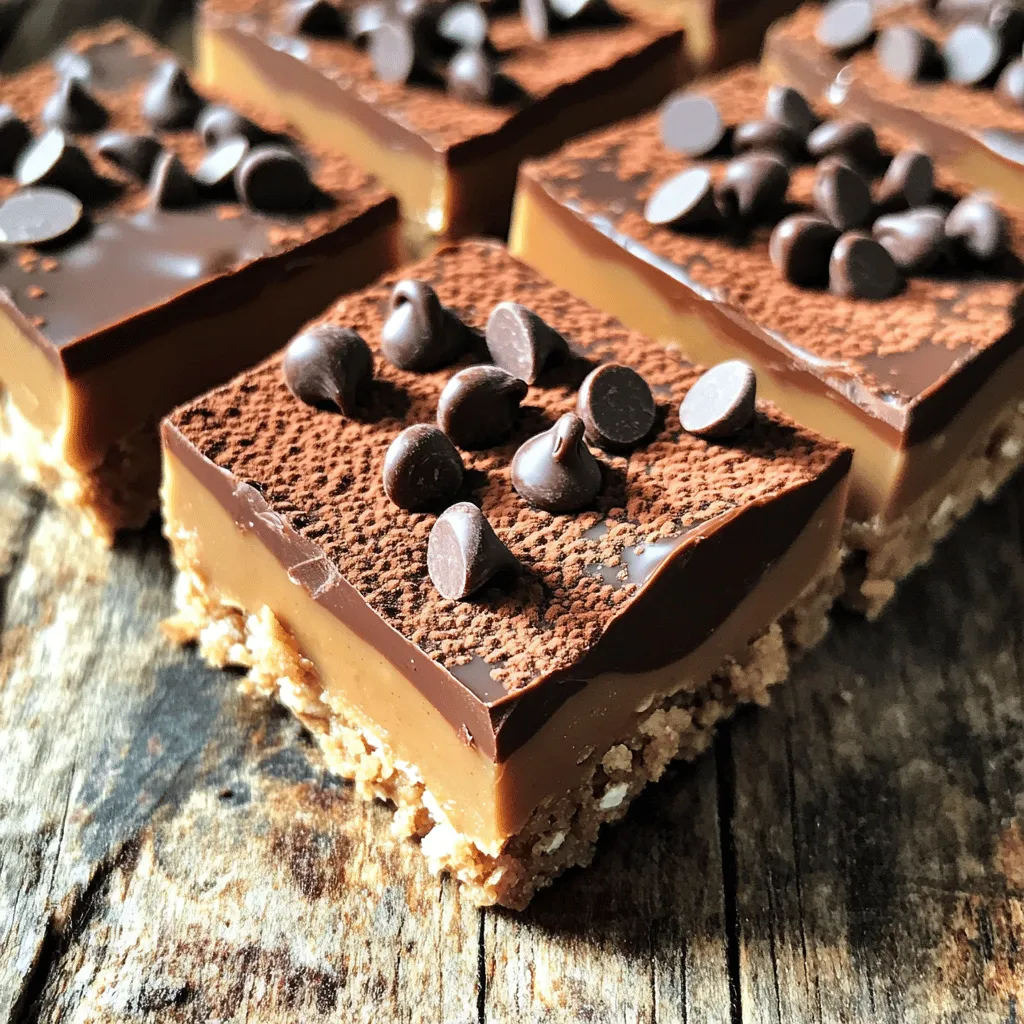
Are you ready to whip up a sweet and easy treat? These No-Bake Peanut Butter Bars are simple to make and packed with flavor. With just a few ingredients, you’ll create a delicious snack that satisfies any craving. Whether you’re at home or on the go, these bars are sure to please. Let’s dive into the ingredients and steps to make this tasty delight!
Ingredients
Here are the ingredients you need for no-bake peanut butter bars. Each one plays a key role in making these bars both tasty and simple.
– 1 cup creamy peanut butter
– 1/2 cup honey or maple syrup
– 2 cups rolled oats
– 1/2 cup almond flour
– 1/4 cup cocoa powder
– 1/4 cup chocolate chips (optional)
– 1 tsp vanilla extract
– A pinch of sea salt
Creamy peanut butter is the main star. It gives the bars a rich taste and smooth texture. Honey or maple syrup adds sweetness and binds the mixture. Rolled oats provide a hearty base, while almond flour adds a nice nutty flavor. Cocoa powder gives a chocolatey kick that everyone loves.
You can add chocolate chips for extra sweetness, but they are not required. Vanilla extract enhances all the flavors, and sea salt balances the sweetness. Each ingredient mixes together to create a delicious, no-bake treat that you and your family will enjoy.
Step-by-Step Instructions
Preparation Overview
Making no-bake peanut butter bars is quick and easy. You will need just 15 minutes of prep time. Use simple ingredients for a tasty treat. Gather your tools: a medium saucepan, a large bowl, and a baking dish. This dish should be 8×8 inches.
Detailed Cooking Steps
1. Melt the Peanut Butter: In a medium saucepan, add the creamy peanut butter and honey. Heat this over low flame. Stir it until the mix melts and combines well.
2. Add Flavor: Take the pan off the heat. Stir in the vanilla extract and a pinch of sea salt. This adds depth to the flavor.
3. Mix Dry Ingredients: In a large bowl, combine rolled oats, almond flour, and cocoa powder. Mix them well so they blend.
4. Combine Mixtures: Pour the warm peanut butter mix over the dry ingredients. Stir until everything is well mixed. If you want chocolate chips, fold them in now.
5. Prepare the Dish: Line your baking dish with parchment paper. Leave some paper hanging over the sides for easy removal later.
6. Press the Mixture: Firmly press the mixture into the dish. Make sure it is even and well packed.
7. Chill: Place the dish in the fridge for at least one hour. This helps the bars set nicely.
8. Cut the Bars: After they are firm, lift the bars out using the parchment paper. Cut them into squares for serving.
Tips for Chilling the Mixture
To chill the bars well, ensure they are pressed tightly in the dish. If your fridge is crowded, place the bars on a flat shelf to chill evenly. If you want a firmer texture, let them chill longer than an hour. This will make cutting easier and keep them from falling apart.
Tips & Tricks
How to Perfect the Texture
To get the best texture for your bars, use creamy peanut butter. Creamy peanut butter blends well with other ingredients. Be sure to measure your oats and almond flour correctly. Too much can make the bars dry. Mixing in the cocoa powder evenly will also help. This gives a nice, smooth finish. Finally, press the mixture firmly into your baking dish. This helps them set better.
Best Practices for Mixing Ingredients
Start by melting the peanut butter and honey together. This step makes it easier to mix. Once melted, stir in the vanilla and salt. In another bowl, combine the dry ingredients. Mix the oats, almond flour, and cocoa well before adding the wet mix. Pour the warm peanut butter mixture over the dry mix slowly. This helps to coat every piece evenly. Use a spatula to fold in chocolate chips if you want them.
Substitutions for Common Ingredients
You can swap honey for maple syrup if you like. This will give a different flavor but still work well. If you’re allergic to nuts, use sunflower seed butter instead of peanut butter. For the almond flour, feel free to use regular flour or oat flour. Each will change the bar’s taste but can be tasty. If you don’t have cocoa powder, try carob powder for a sweet twist.

Variations
Adding Different Flavors (e.g., coconut, nuts)
You can easily change the taste of these bars. Try adding shredded coconut for a tropical twist. Chopped nuts also work well. They add crunch and extra flavor. You can use almonds, walnuts, or even pecans. Just mix them in when you mix the dry ingredients. This makes your bars unique and fun!
Healthy Swaps (e.g., agave, different flours)
Want to make these bars healthier? You can swap honey for agave syrup. Agave has a lower glycemic index, which is great for blood sugar. You can also switch almond flour with oat flour. Oat flour is easy to make by blending rolled oats. These swaps keep the taste yummy while making them healthier!
Dessert Topping Ideas
Toppings can make these bars even better! Try drizzling melted dark chocolate on top. It adds a rich layer. You can also sprinkle crushed nuts or seeds. For a fruity twist, top with dried fruits like cranberries or raisins. These toppings will make your bars more exciting and delicious!
Storage Info
Best Storage Practices
To keep your no-bake peanut butter bars fresh, store them in an airtight container. Use parchment paper between layers to prevent sticking. This method helps maintain their shape and flavor. Keep the container in the fridge for best results.
How Long Do They Last?
When stored properly, these bars last about one week in the fridge. If you want to enjoy them later, freezing is an option. Just make sure to wrap them well before freezing.
Freezing Instructions for Longer Storage
To freeze, cut the bars into squares first. Then, wrap each square in plastic wrap. Place them in a freezer-safe bag or container. They can last up to three months in the freezer. When you’re ready to eat, thaw them in the fridge overnight. Enjoy your tasty treat anytime!
FAQs
Can I use crunchy peanut butter instead of creamy?
Yes, you can use crunchy peanut butter. It will give your bars a nice texture. The bits of peanut add a fun crunch. Just make sure to mix it well.
Is it possible to make these bars vegan?
Yes, you can make these bars vegan. Use maple syrup instead of honey. Also, choose vegan chocolate chips if you add them. These swaps keep the taste great.
What are some alternatives to honey for sweetness?
You can use maple syrup, agave nectar, or brown rice syrup. Each option brings a unique flavor. Just keep the same amount as honey in the recipe.
How do I know when the bars are set?
Check after one hour in the fridge. They should feel firm to the touch. If they hold their shape when you press them, they are ready.
This blog post covers how to make tasty healthy bars. From choosing the right ingredients to tips for perfect texture, I shared all you need. You can make variations to fit your taste. Remember to store them well for the best taste. These bars are easy to customize and full of different flavors. Enjoy your cooking, and make them a part of your healthy snacks!

