Are you ready for a sweet treat that requires no machine? My No-Churn Chocolate Peanut Butter Cup Ice Cream Delight is the perfect answer! With simple ingredients like heavy cream, sweetened condensed milk, and creamy peanut butter, you’ll whip up a delicious dessert in no time. Let’s dive into the easy steps and tips so you can make this ice cream at home and impress everyone with your tasty creation!
Ingredients
Essential Ingredients
– 2 cups heavy cream
– 1 cup sweetened condensed milk
– ½ cup smooth peanut butter
– 1 teaspoon vanilla extract
– ½ cup chocolate chips
– ½ cup mini peanut butter cups, chopped
– A pinch of salt
When making No-Churn Chocolate Peanut Butter Cup Ice Cream, these ingredients are key. Heavy cream gives the ice cream a rich and creamy texture. Sweetened condensed milk adds sweetness and helps it freeze well. Smooth peanut butter gives that nutty flavor we love. Vanilla extract enhances all the flavors.
Chocolate chips and mini peanut butter cups add a fun crunch and extra flavor. A pinch of salt balances the sweetness and brings out the chocolate and peanut butter taste.
Ingredient Notes
– Best types of peanut butter for flavor and texture: I recommend using smooth peanut butter for a creamy texture. Natural peanut butter works too, but it may be a bit less smooth. Avoid chunky peanut butter in this recipe, as it can affect the texture.
– Alternative sweeteners for variation: You can use honey or maple syrup if you want less refined sugar. Just note that this may change the overall flavor a bit.
– Options for dairy-free or lactose-free versions: For a dairy-free treat, swap heavy cream with coconut cream. Use a dairy-free sweetened condensed milk for the base. This way, everyone can enjoy this delicious ice cream!
Step-by-Step Instructions
Preparation Steps
Whipping the heavy cream
Start by taking 2 cups of heavy cream. Pour it into a large mixing bowl. Use an electric mixer to whip the cream. Whip until stiff peaks form. This usually takes about 3 to 5 minutes. The cream should look thick and fluffy.
Mixing the peanut butter base
In another bowl, combine 1 cup of sweetened condensed milk and ½ cup of smooth peanut butter. Add in 1 teaspoon of vanilla extract and a pinch of salt. Mix these ingredients until they are smooth and well combined. This base adds a rich flavor.
Folding techniques for a light texture
Take the whipped cream and gently fold it into the peanut butter mixture. Do this in three additions. Be careful not to deflate the whipped cream. The mixture should look light and fluffy when combined.
Finalizing the Mixture
Incorporating chocolate chips and mini peanut butter cups
Now, stir in ½ cup of chocolate chips and ½ cup of chopped mini peanut butter cups. Mix well to ensure they are evenly spread throughout the ice cream base. This adds a delightful crunch and flavor.
Pouring into a container for freezing
Pour the mixture into a 9×5 inch loaf pan or a freezer-safe container. Use a spatula to smooth the top. This helps create an even surface for freezing. Cover the pan with plastic wrap or a lid to keep it fresh.
Freezing and Serving
Freezing time guidelines
Place the container in the freezer. Let it freeze for at least 6 hours or until solid. This step is key for the perfect texture.
Tips for scooping the ice cream
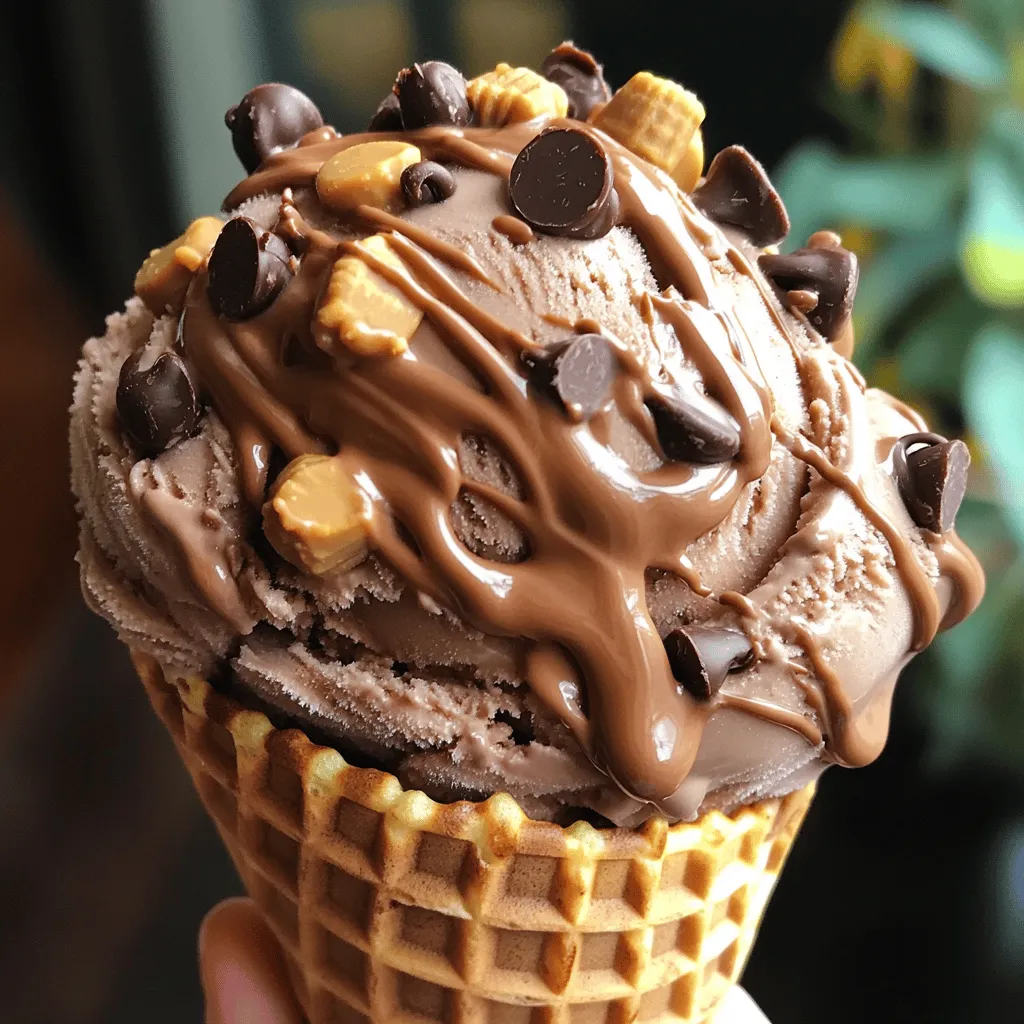
When you’re ready to serve, allow the ice cream to sit at room temperature for a few minutes. This makes scooping easier. Serve in waffle cones or bowls. Garnish with extra chopped peanut butter cups and a drizzle of chocolate sauce for a tasty treat.
Tips & Tricks
Whipping Tips
– To get stiff peaks, whip your heavy cream for 3-5 minutes. Use a clean bowl and beaters. This helps the ice cream hold its shape.
– When you fold the whipped cream into the peanut butter base, do it gently. Start with one-third of the cream. Use a spatula, and scoop from the bottom up. This keeps your mixture light and airy.
Serving Suggestions
– For a fun presentation, serve the ice cream in waffle cones or bowls.
– Top your ice cream with extra chopped mini peanut butter cups. A drizzle of chocolate sauce adds a rich touch.
– You can also add whipped cream for extra creaminess. Enjoy every bite!
Variations
Flavor Variations
You can easily change the flavors in this ice cream. Here are some fun ideas:
– Add mix-ins: Try adding crushed cookies, nuts, or fruit. Swirl in some caramel or fudge for extra goodness.
– Substitute chocolate: Use white chocolate or dark chocolate instead. You can even try flavors like mint or coffee to mix it up.
These twists keep the ice cream fresh and exciting.
Dietary Adjustments
You can make this ice cream fit different diets. Here are some options:
– Vegan alternatives: Use coconut cream instead of heavy cream. Replace sweetened condensed milk with coconut milk for a vegan treat.
– Low-carb or sugar-free options: Choose a low-carb sweetened condensed milk. Use sugar-free chocolate chips to keep it keto-friendly.
These changes let everyone enjoy this tasty dessert while sticking to their diet.
Storage Info
Freezing Instructions
To keep your ice cream fresh, store it in the freezer. Make sure it is in an airtight container. This will prevent ice crystals from forming. For the best taste and texture, eat it within two weeks. However, it can last up to one month in the freezer. Just remember, the longer it sits, the more it may lose flavor and texture.
Container Recommendations
Use a sturdy freezer-safe container. Glass or plastic containers work well. If you want to save space, a loaf pan is a great choice. When you store it, label the container with the date. This will help you remember when you made it. You can also note the flavor on the label. This way, you can easily find it later.
FAQs
Common Questions
Can I make this ice cream without an electric mixer?
Yes, you can. Just whisk the cream by hand. It will take longer. Use a strong whisk and a big bowl. Keep whisking until you see stiff peaks.
How can I fix icy texture in homemade ice cream?
To fix icy texture, try to whip the cream longer. You can also add more sweetened condensed milk. This helps make it creamier. Use an airtight container to limit air exposure.
What can I use instead of sweetened condensed milk?
You can use coconut cream. It gives a nice flavor and keeps it creamy. Another option is evaporated milk with sugar mixed in.
Additional Inquiries
How long does it take for the ice cream to set?
It takes at least six hours to freeze fully. I recommend leaving it overnight for the best texture.
Can I use crunchy peanut butter instead of smooth?
Yes, you can use crunchy peanut butter. It adds nice texture and flavor. Just remember, the ice cream will have more bites.
Is it possible to make this recipe in different flavors?
Absolutely! You can add different mix-ins like cookies or fruits. Try using flavored extracts, like mint or almond, for a twist.
You learned how to make a tasty peanut butter ice cream. We discussed key ingredients and steps to whip up this cool treat. Remember, you can customize with flavors and mix-ins. Don’t forget storage tips to keep it fresh. With this guide, you’re ready to create a delightful dessert at home. Dive into this easy recipe and enjoy every scoop!