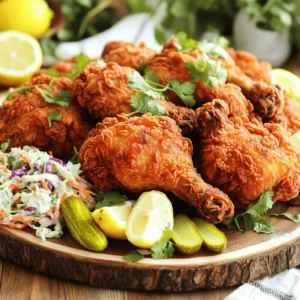
Extra Crispy Buttermilk Fried Chicken
Indulge in the ultimate comfort food with this Extra Crispy Buttermilk Fried Chicken recipe! Perfectly marinated and seasoned, these juicy chicken thighs and drumsticks are fried to golden perfection. Discover the secret to amazing flavor and a crunch that satisfies every craving. Ready to impress your family and friends at dinner? Click through to explore this mouthwatering recipe and elevate your cooking skills today!